

To run a successful e-commerce business, you must ensure that your products and services consistently meet your customers’ needs. However, buyer problems evolve over time, making it difficult to adapt. Fortunately, customer surveys enable you to understand your consumers better, helping you improve your business and increase retention rates.
In this post, we will discuss some of the benefits of using customer surveys on your e-commerce site. Then, we’ll share four easy steps to help you create your own customer feedback survey. Let’s get started!
The Benefits of Using Customer Surveys for Collecting Feedback
Creating a customer survey for your e-commerce site can help improve your products, services, or website. You can even uncover gaps in your offerings and new product opportunities.
Surveys enable you to learn more about your business’s strengths and weaknesses. Since your customers’ needs evolve constantly, surveys can ensure that your products continue solving consumer problems:


Furthermore, enabling customers to leave feedback shows that you value their opinions, which can help you develop strong relationships. This can effectively transform consumers into brand ambassadors for your products.
Collecting customer feedback also helps you build brand loyalty, which can increase retention rates. You’ll be in a better position to improve the customer experience, which can help you attract new clients and retain existing ones. Moreover, fixing customer problems demonstrates your devotion to providing excellent customer service.
With the growth of online shopping, reviews can significantly influence purchasing decisions. For example, 93.4% of global digital shoppers read customer reviews before buying from an unfamiliar retailer. Therefore, positive feedback from your customer survey can be a reliable source of information for other consumers considering your business.
Finally, feedback surveys can also help you to make essential business decisions. The survey data can guide future strategies and generate actionable takeaways.
For instance, you might discover that further product development isn’t necessary. However, you could focus your efforts on promoting your brand more effectively.
How to Create a Customer Survey for Your E-Commerce Website (In 4 Steps)
Now that you know the benefits of using customer feedback surveys, let’s look at how you can create one for your e-commerce site!
Step 1: Install and Activate WP Forms in WordPress
The easiest way to create a customer survey is to use a form-building plugin like WPForms. WPForms enables you to create simple online forms using a drag-and-drop builder. Overall, it’s an intuitive and beginner-friendly option.
To get started, head to your WordPress dashboard. Go to Plugins > Add New:

Use the search bar at the top to find “WPForms.” It will be the first option you see, labeled “Contact Form by WPForms.” This is the free version of the plugin, which offers basic form-building services. To gain access to advanced features like email integration and conditional logic, you might find one of the premium plans more useful.
Next, click on Install Now to begin your download, and once this is complete, hit Activate:

If you navigate to the sidebar of your WordPress dashboard, you should see that WPForms is now listed here. The plugin is ready to start creating surveys!
Step 2: Create and Customize Your Customer Survey
To create your e-commerce survey, click on WPForms > Add New:

Give your form a name and select a template to get started. The premium version of the plugin offers more template options. However, you can create a simple form by choosing a blank template and building your survey from scratch:

Now, you can add fields to your form from the left of the screen. Simply select the field you’d like to use, and drop it anywhere on your page.
We recommend using a Name and Email field to personalize your customer communications. These details can also be helpful when using your survey data for market research or contacting customers to write testimonials for your business.
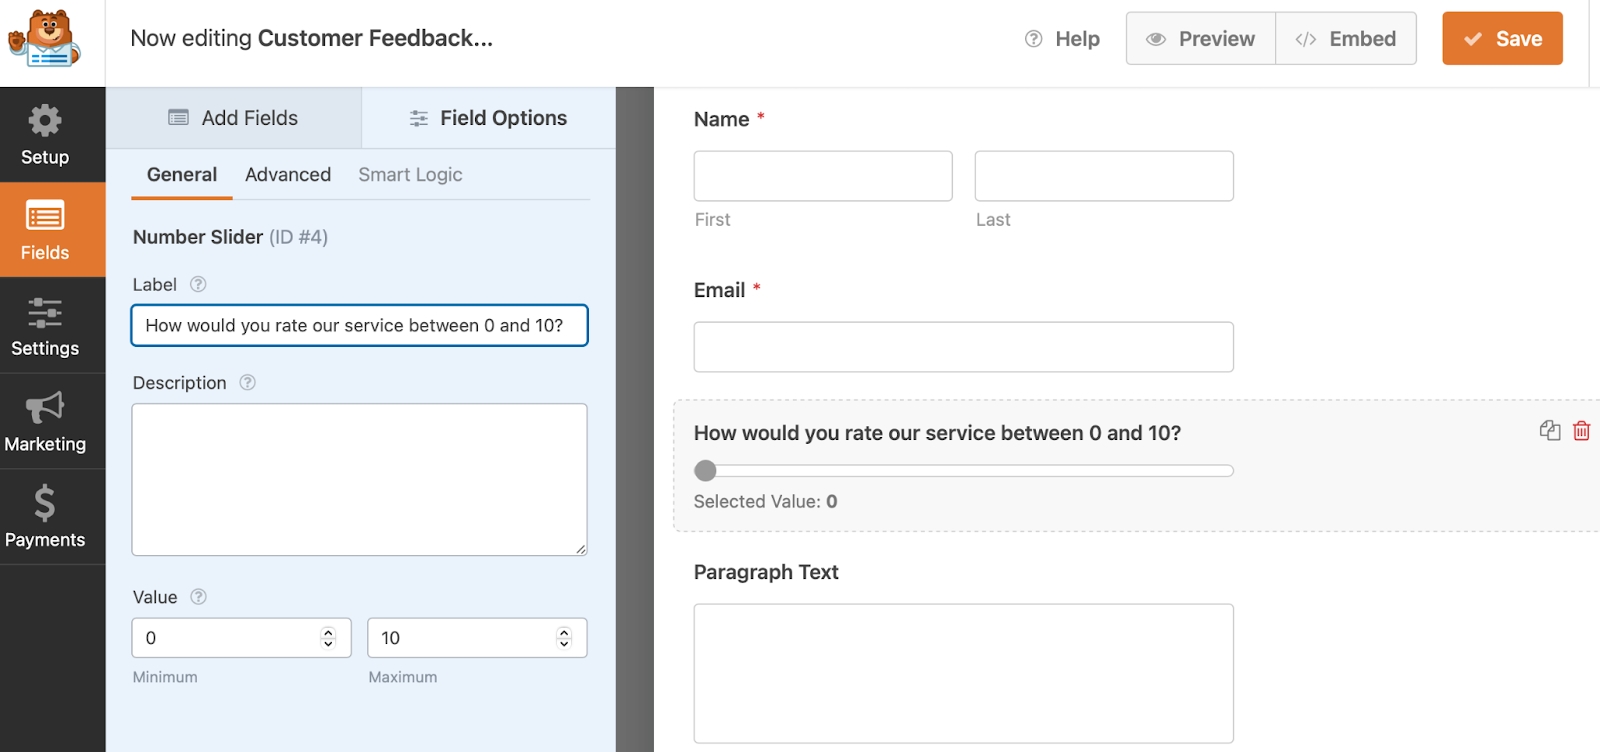
Consider using a combination of Number Sliders, Multiple Choice, and Paragraph Text for your survey questions. These fields allow customers to leave lengthier responses. Plus, you can check out this guide on writing effective survey questions:

To access customization options, select the field you’d like to edit. This will take you to the Field Options tab, where you can change labels, add descriptions, adjust sizes, and mark questions as required:
Once you’re happy with your customer survey, click on Save in the top right corner.
Step 3: Configure Your Survey Settings
You can configure your form settings to notify you when surveys have been completed. Additionally, you can send confirmation messages to customers.
Head to Settings within WPForms. Under Confirmations, use the drop-down box to select a confirmation type.
For example, you can display a message on the page or redirect participants to another area of your e-commerce site. If you opt for the message option, you can customize the text or add the URL for redirections:

Under Notifications, you can ensure you’ll receive an email every time a survey is completed. This is the default setting, and the email will be sent to the administrator address associated with your WordPress site:

You can change the address information here and notify customers by email. Just add multiple email addresses in the Send to Email Address section to enable this setting.
Step 4: Add Your Survey to Your E-Commerce Website
Before adding your survey to your e-commerce website, we recommend previewing it to ensure it’s ready. Then, click on Save.
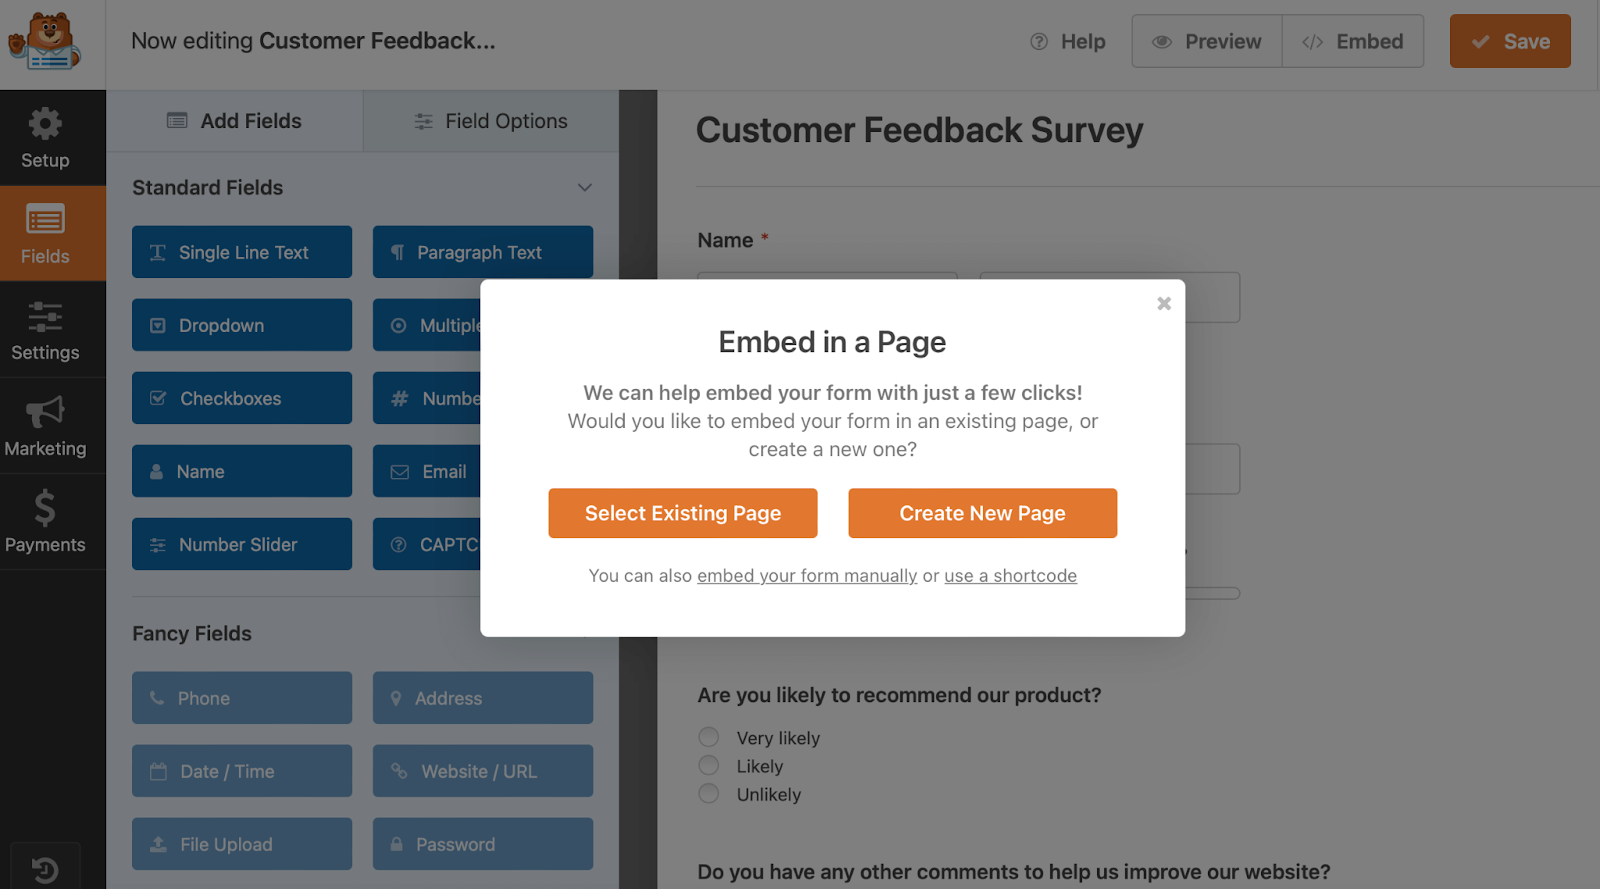
Now you can add your form to your site from the WPForms screen or through your WordPress dashboard. From WPForms, click on Embed. Then, choose whether to add your survey to an existing page or create a new page. You might also decide to embed your form manually or use shortcode:
If you’re creating a new page for your survey, find the WPForms widget, and use the drop-down menu to select your customer survey:

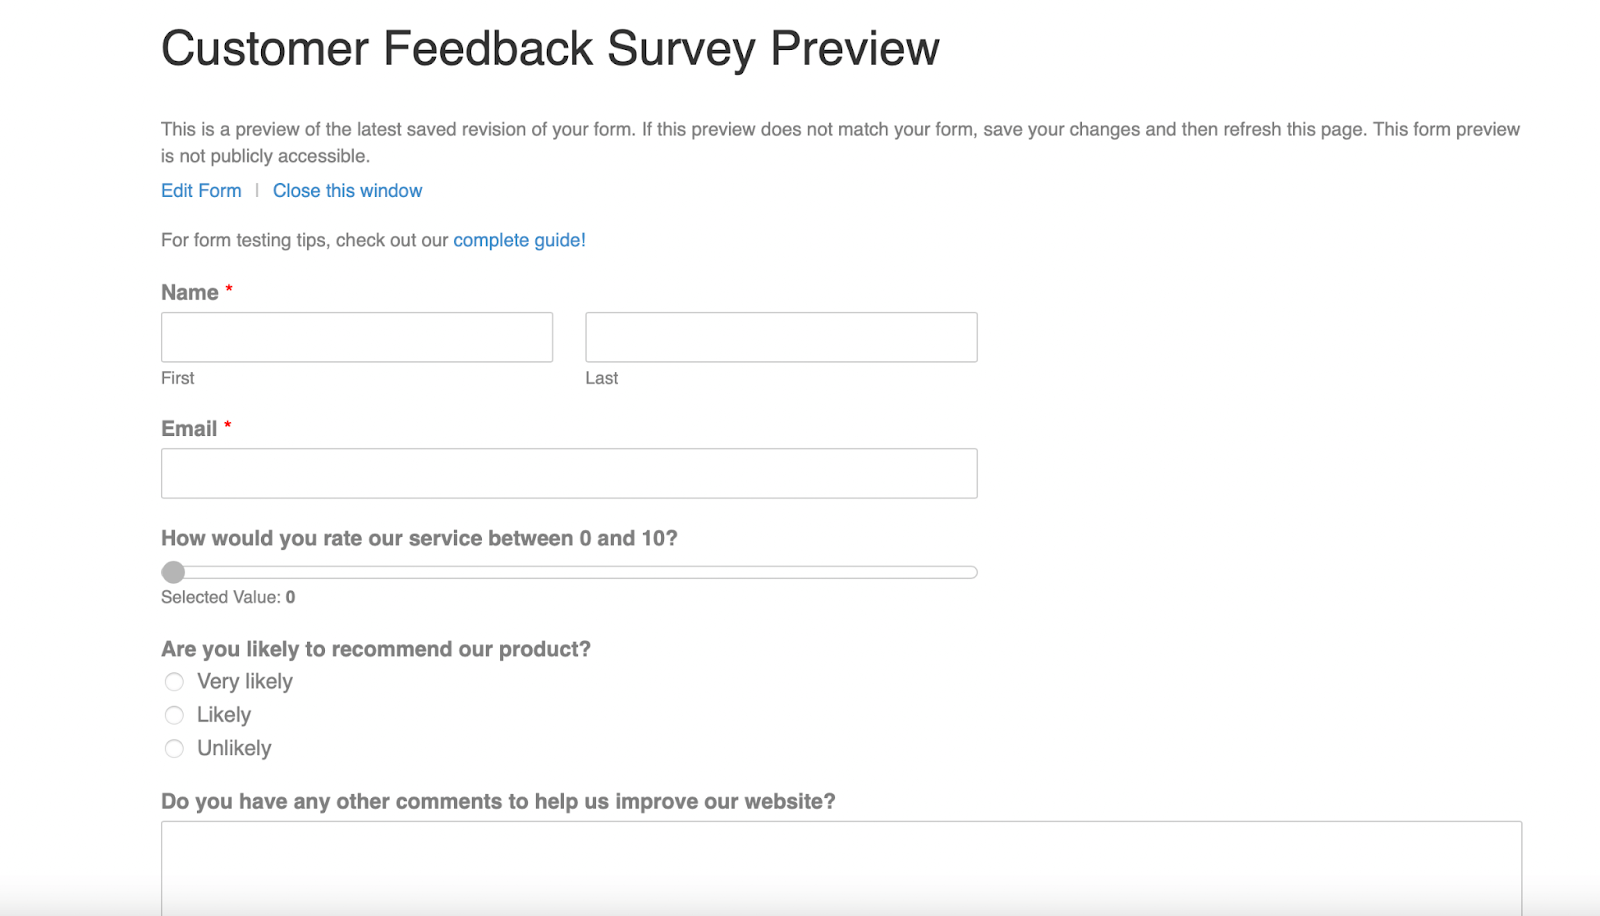
You can view your survey on your WordPress page by clicking on Preview. This shows you what customers will see when they visit your site:
When your customer survey page is ready, hit Publish. You now have a fully functional customer survey!
Conclusion
No matter what services or products you sell from your e-commerce site, your customers are key to success. If consumers aren’t happy with your business, you risk losing them to competitors. However, by creating a feedback survey, you can continually adapt to your buyers’ needs, retain existing customers, and attract new ones.
Do you have any questions about using customer surveys? Let us know in the comments section below!
Featured image via Pixabay