
Starting a blog can be an effective way to gain more visibility, generate leads, and establish yourself as an authority in your niche. However, if writing is not your forte, it can be difficult to get started. Fortunately, you can plan and write an entire blog post with ChatGPT.
In this post, we’ll take a closer look at ChatGPT and how it works. Then, we’ll show you how to write a blog post with this tool. Let’s get started!
An Introduction to ChatGPT
Artificial Intelligence (AI) can help streamline many routine tasks associated with running a website. ChatGPT is a type of AI that uses Natural Language Processing (NLP) to generate content that replicates human conversations.
In fact, many WordPress plugins are implementing this technology to help you generate content. These AI generators can create entire blog posts, outlines, social posts, keywords, and a lot more. Additionally, you can find plugins that generate images to accompany your posts.
However, it’s important to be cautious about how you use AI-generated content on your site. For example, Google prohibits the use of AI content to manipulate search rankings.
Plus, at the time of writing, ChatGPT is trained on data up to 2021. This means it’s unable to provide information about events that happened in the last few years.
How to Write a Blog Post with ChatGPT (In 5 Steps)
Now that you know a bit more about ChatGPT, let’s take a look at how to write a blog post using the tool.
Before we begin, you’ll need to create an OpenAI account (unless you already have one):


Then, select ChatGPT to open the tool. You can now start generating your blog post.
1. Find Topic Ideas
The first step is to brainstorm some topic ideas. You’ll need to identify topics that suit your audience and niche, otherwise your content could fail to drive results.
Normally, you’d have to manually source topic inspiration from news websites and social media. However, ChatGPT makes this process a bit quicker.
For example, you might ask the tool to generate five topic ideas around a certain theme or industry:

The tool will get to work immediately. If you’re unsatisfied with the results, click on Regenerate. Alternatively, click on New Chat to save all the topic ideas you want to use.
2. Choose Your Keywords
Whenever you write a new blog post, it’s important to include popular keywords to help users discover your content. There are terms and phrases that people are searching for. By incorporating them into your posts, you can gain more visibility in search engine results.
You can use a tool like Google Keyword Planner to find the right keywords for your content. However, the process can be a little time-consuming.
Fortunately, you can command ChatGPT to generate a list of keywords related to your topic idea:
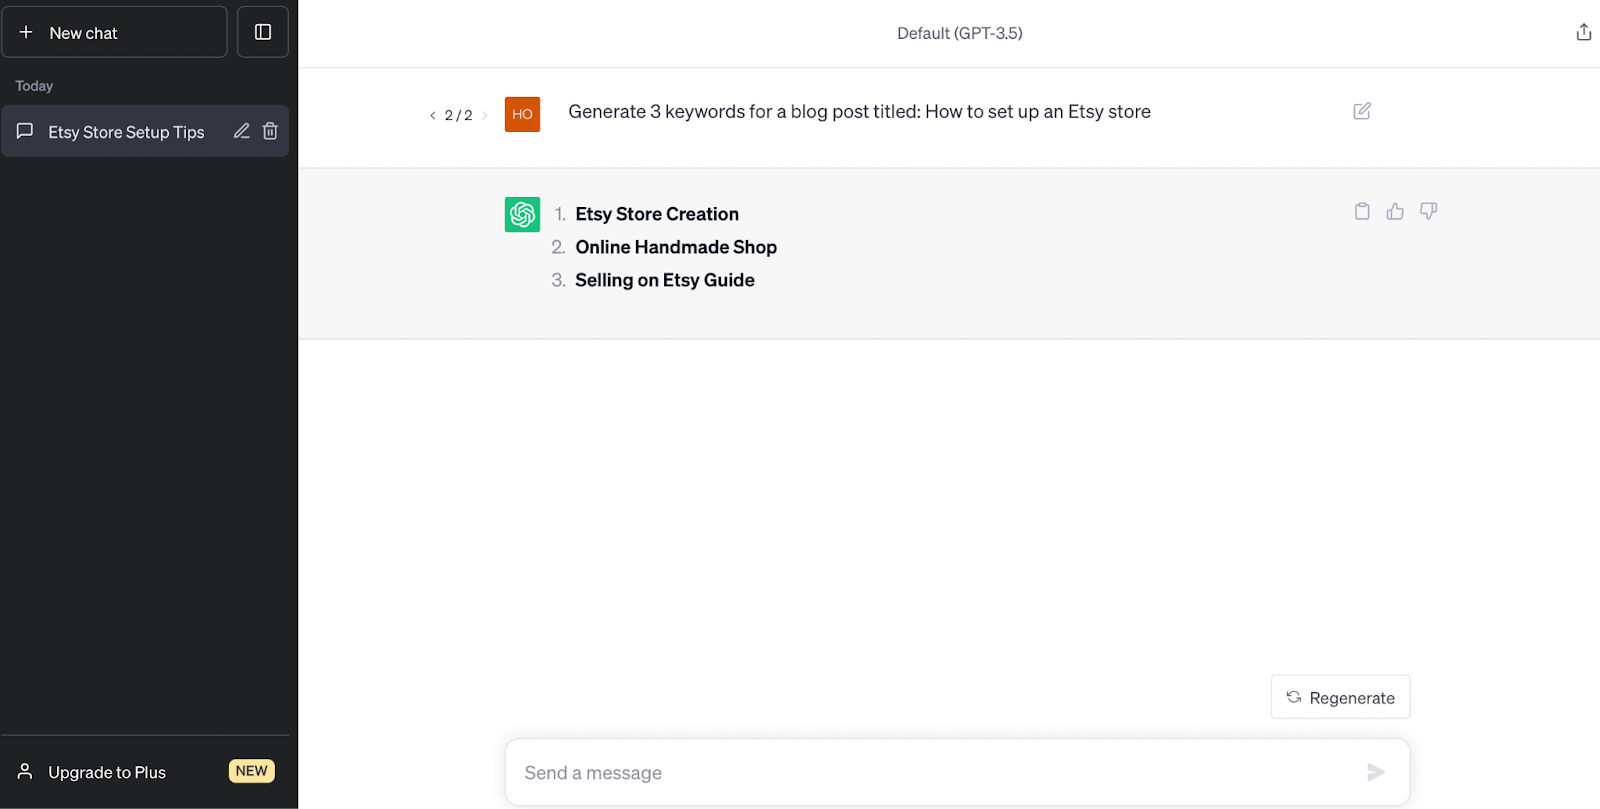
The only downside is that ChatGPT doesn’t take into account factors like competition and average monthly searches. Without this information, it can be difficult to determine which keywords are easiest to rank for.
Therefore, you’ll want to use ChatGPT to find your keywords, then run them through Google Keyword Planner to assess their potential.
3. Create a Blog Post Outline
Now, you’re ready to generate a blog post outline. This can help you structure your content effectively and ensure that you don’t miss any important details.
To do this with ChatGPT, simply state your post title and ask the tool to provide an outline for it:
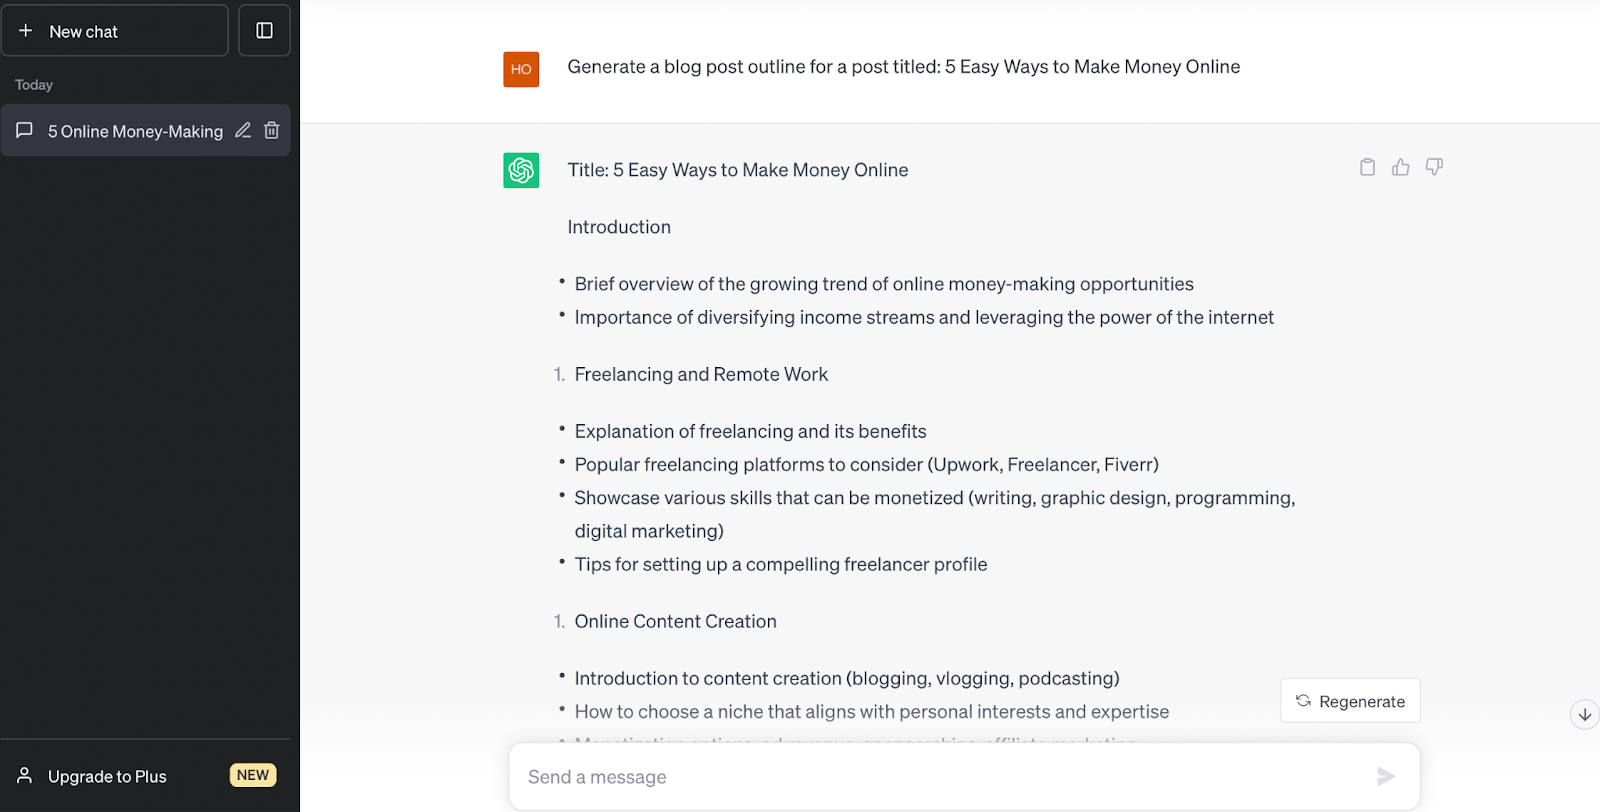
As you can see, ChatGPT suggests a clear layout for your post, including an introduction, main headings, and a conclusion. It even lists some discussion points for each section.
4. Generate Quality Content
At this stage, you’re ready to use ChatGPT to generate quality content for your blog. If you want to continue using the free tool, you can enter your post’s keywords or title and ask it to create a post:

Alternatively, you could ask it to create an article based on the outline it generated earlier.
If you install a ChatGPT plugin like AI Engine, you can create your blog post directly within the WordPress dashboard. Once you activate the plugin on your site, you’ll need to navigate to Posts > Generate New to access the content generator:

Then, enter your blog post topic in the Topic box and click on Generate. The plugin will now provide a title, sections, content, and an excerpt for your post.
If you want to change the number of headings, you can do so from the Sections dropdown menu:

You can even change the number of paragraphs.
To the right side of the screen, you’ll find the Content Params box. This enables you to set the right tone and style for your content.
For example, if you’re writing a post to promote an affiliate product, you might select a Persuasive writing style with an Emotional tone to motivate users to visit the product page:

Additionally, if there is anything in the AI-generated content that you don’t like, you can manually edit the text. You might even add more details or insert a call to action.
5. Optimize Your Blog Post
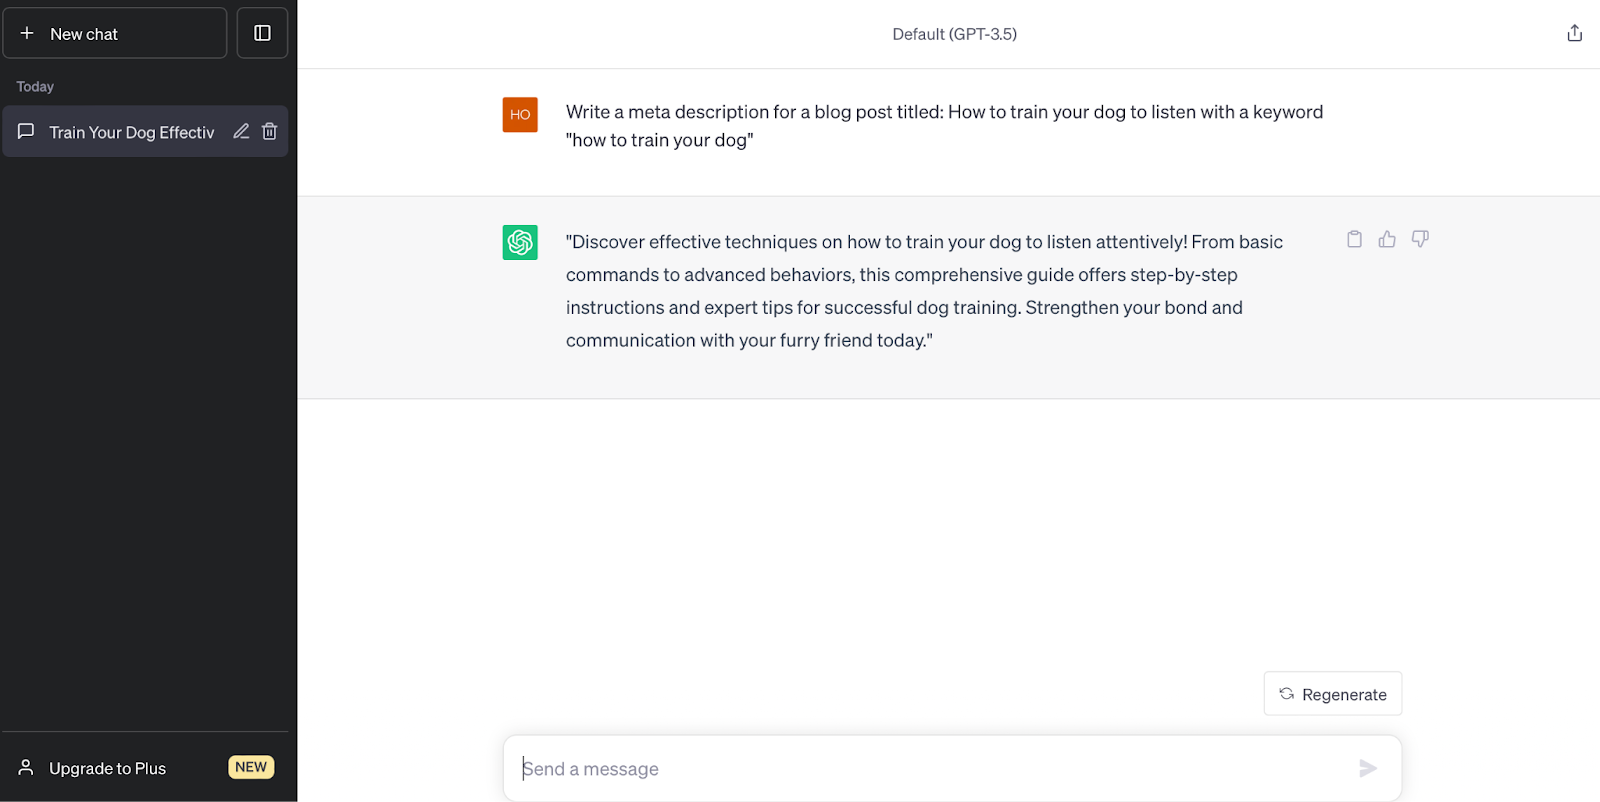
Finally, you’ll want to optimize your blog post for search engines. This way, you can drive more organic traffic to your pages.
First, you can ask ChatGPT to write a meta description for your post. In this instance, it’s best to provide the post title and your primary keyword:
Next, you can add schema markup to your post to increase the likelihood of getting featured in rich results. The simplest way to do this with ChatGPT is to add an FAQ section.
Here, you might ask ChatGPT to generate a specific number of FAQs about your blog post:

As mentioned earlier, ChatGPT is only trained on resources up to 2021. Therefore, you’ll want to fact-check the information before you publish it.
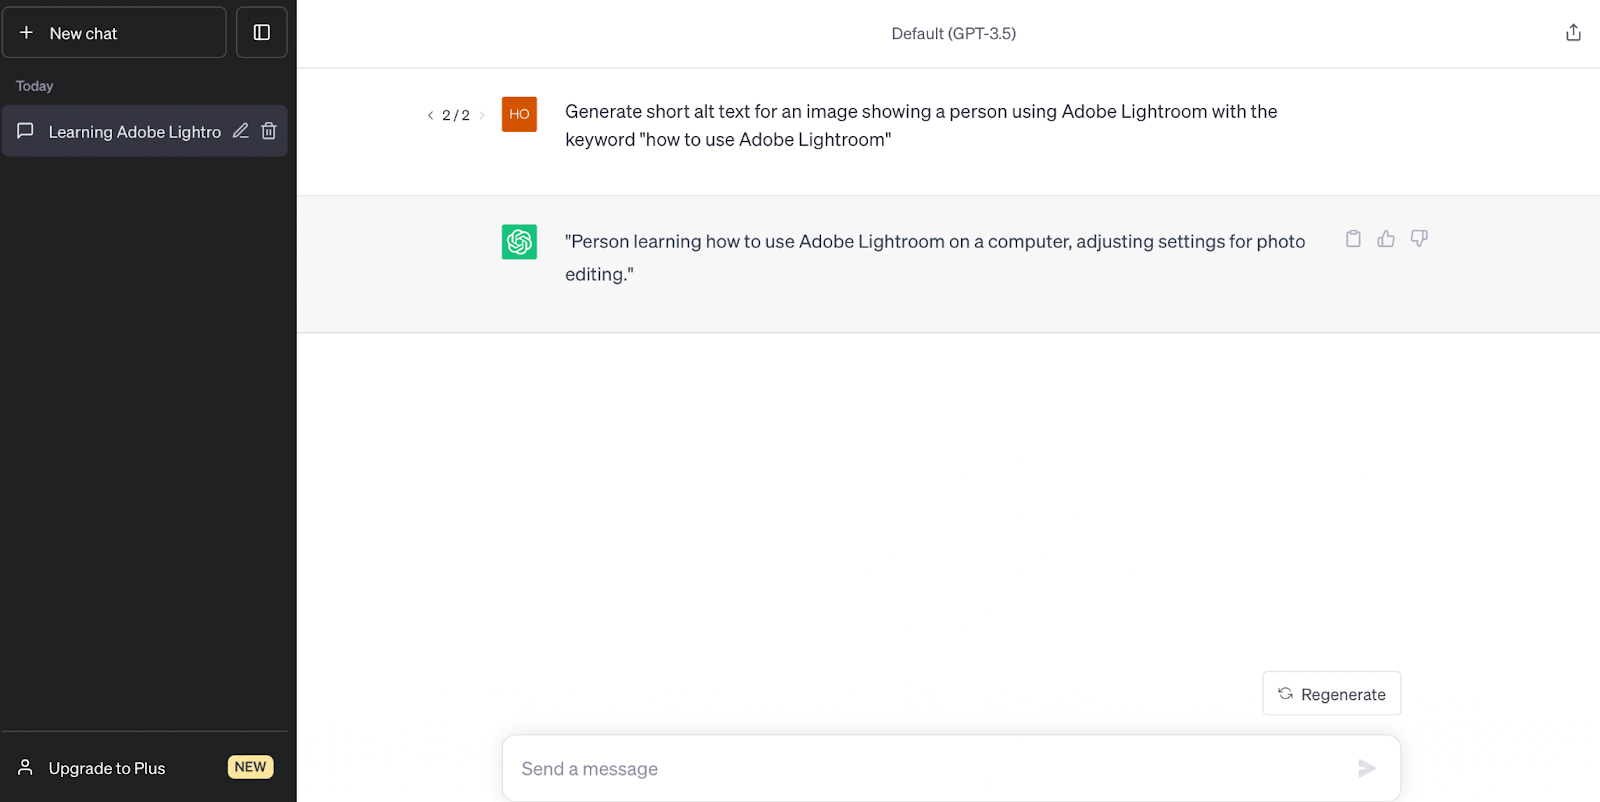
It’s also important that you include images within your blog post to improve readability. You’ll want to add alt text to make your content more accessible. This also provides another opportunity to use keywords.
You can revisit ChatGPT to suggest alt text for your images. Simply provide a brief description of your image and include your primary keyword, and the tool will make a suggestion:
Lastly, you’ll want to go through the entire article and make any necessary tweaks. For example, you might change a few words or rewrite some sentences so that they sound more natural. This can also help you ensure that the content aligns with your brand voice and tone.
Conclusion
Writing a blog post can be difficult when you don’t have the time, or you lack the writing skills needed to create high-quality content. Fortunately, you can use ChatGPT to develop topic ideas, create an outline, and even generate full-length blog posts.
Do you have any questions about how to write a blog post with ChatGPT? Let us know in the comments section below!
Photo by Jonathan Kemper